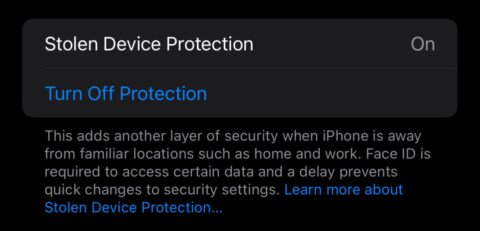
Apple has released iOS 17.3 and iPadOS 17.3 for the iPhone and iPad, and with it came a very important new feature called Stolen Device Protection.
We’ve explained what the feature does here; the short version is that it protects your data in case your iPhone or iPad gets stolen.
So how do you turn it on?
How to turn on Apple’s Stolen Device Protection for iPhone
If it hasn’t been turned on automatically, go to your device’s Settings, tap Face ID & Passcode, enter your device’s passcode, and tap to turn Stolen Device Protection on.
For the option to be available, you need to have two-factor authentication set up for your Apple ID, and have the following settings enabled on your device: a passcode, Face ID (or Touch ID for older iPhones and iPads), Find My, and Significant Locations. The first two options are, again, found under Face ID & Passcode in your settings, while Find My and Significant Locations are set up under Settings – Apple ID – Find My.

The feature is easy to turn on, but there are certain settings that must be enabled before it can work.
Credit: Stan Schroeder/Mashable
How does Apple’s Stolen Device Protection work?
Stolen Device Protection adds an additional layer of security that’s needed to change certain settings on your phone. For example, if someone steals your iPhone or iPad, and even if they somehow found out your passcode, they still must authenticate with either Face ID or Touch ID before they can access the passwords and passkeys stored in your Keychain, use payment methods in Safari, erase all content and settings, and apply for a new Apple Card, among others. Note that these protections will only apply when your iPhone or iPad is not in a familiar location.
Also, with Stolen Device Protection on, there will be a delay before certain important changes can be made to your device. For example, if your iPhone is not in a familiar location, you won’t be able to change the Apple ID password or sign out of Apple ID right away. Instead, you’ll have to authenticate with Face ID or Touch ID, wait for the security delay (one hour) to end, then authenticate with Face ID or Touch ID again to change these settings.
Topics
iPhone
